6.4 Configuring SSO with Okta (OIDC)
If your organisation uses Okta, you can configure Okta as an IdP provider to provide SSO access to various Thredd services. For example, you can use SSO to access Thredd Services such as Thredd Portal. This page describes the steps for using the OpenID Connect (OIDC) protocol for setting up SSO.
Setting up SSO is not mandatory, but is recommended.
6.4.1 Overview
The steps involve:
- Creating an app and app integration.
- Setting URL and refresh token settings.
- Specifying your access control requirement.
- Sharing authentication details with Thredd, through either the Client ID/Client Secret method or the
private_key_jwtauthentication method.
Thredd recommends using the private_key_jwt authentication method.
Thredd will provide you with a Sign-in Redirect URI for creating a web application integration.
6.4.2 Configure SSO
- Log in to the Okta Administration console.
- Select Applications from the left-hand menu.
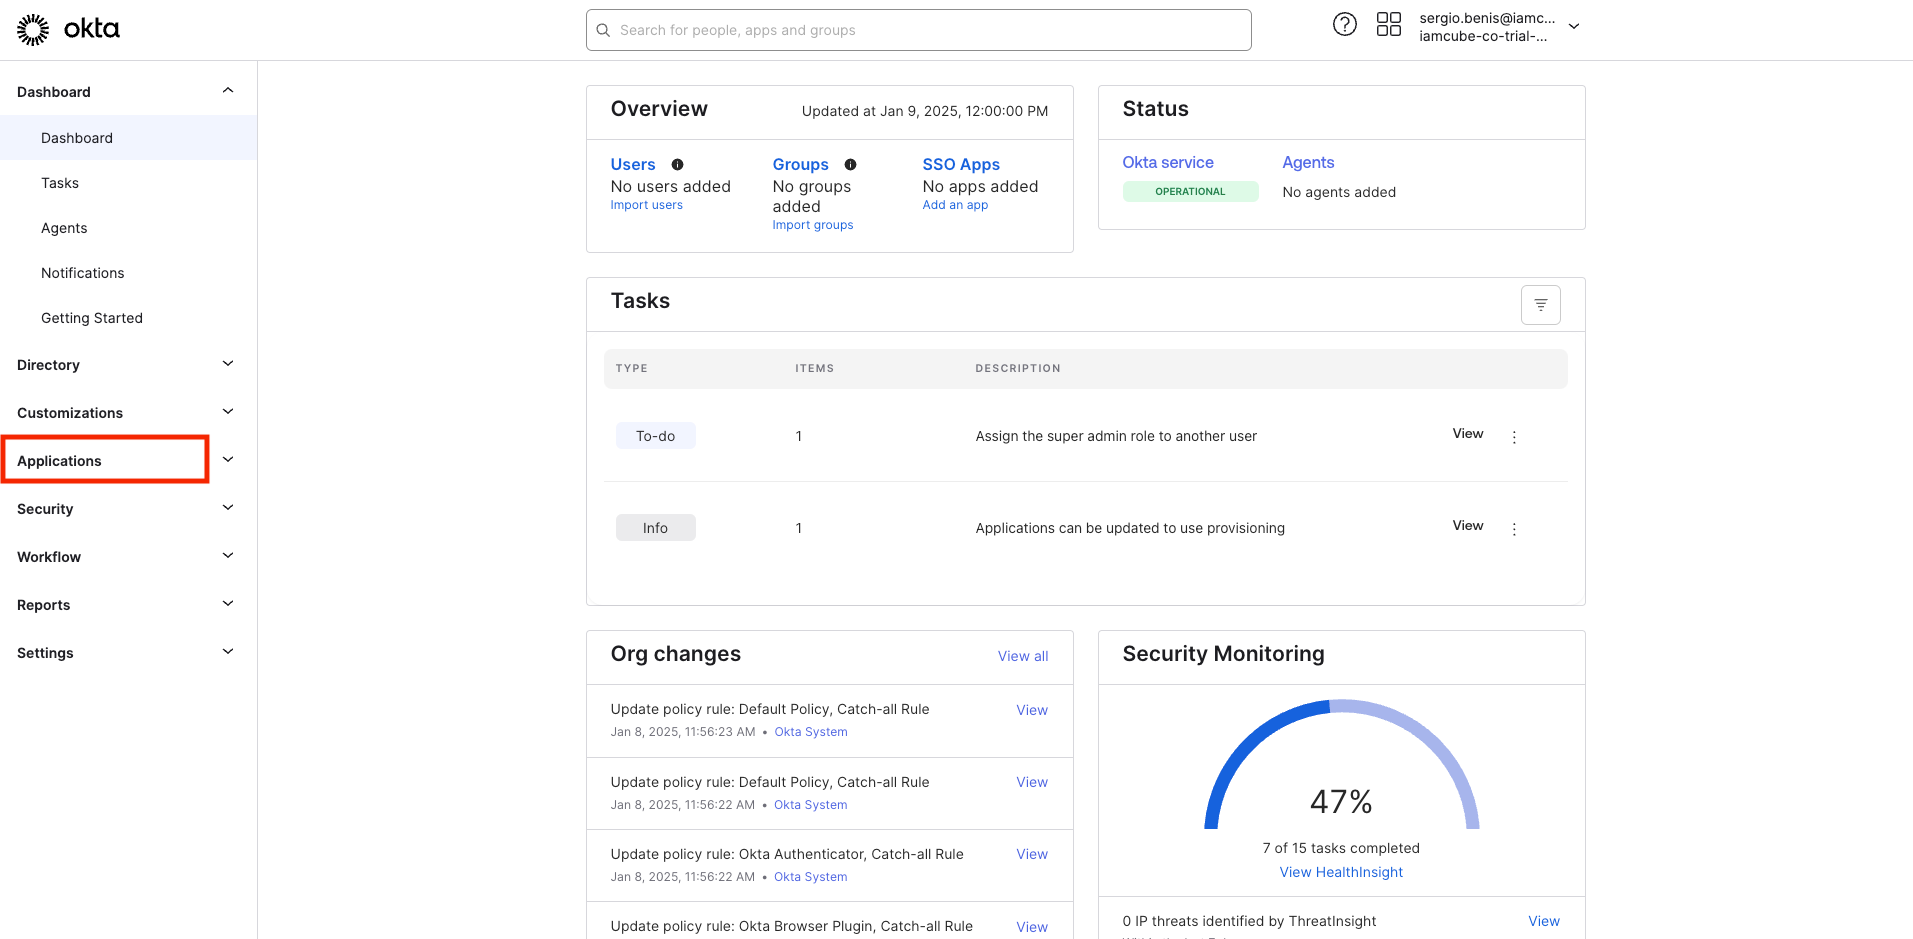
- Click Create Application.
- In Create a new application integration, select OIDC - OpenID Connect and Web Application.
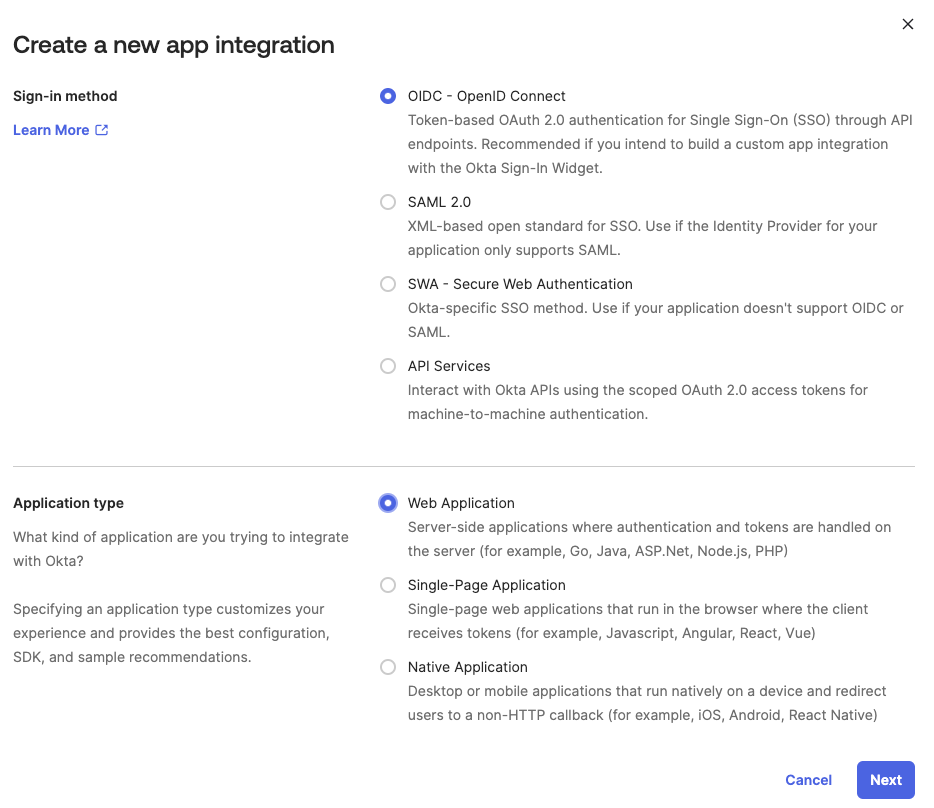
- Click Next.
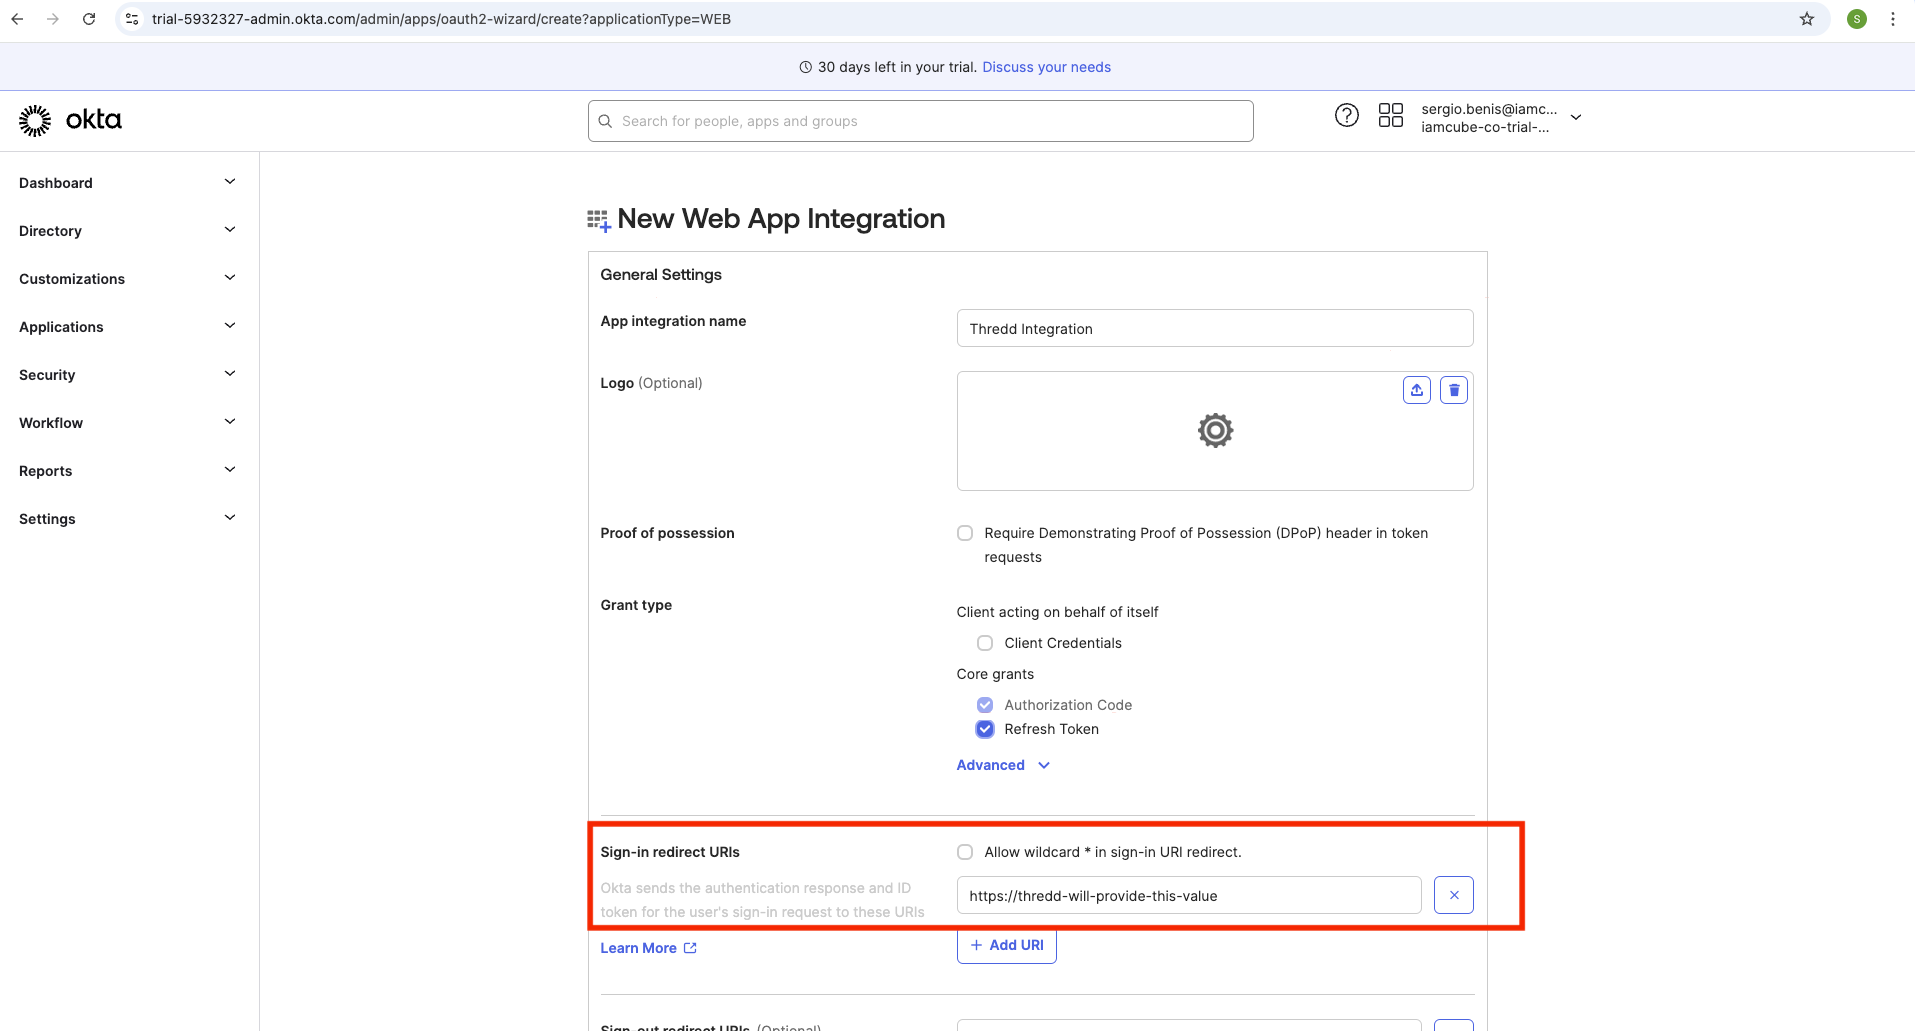
- Enter a name for your application integration in Application integration name.
- Select the Refresh Token check box.
- Enter the URL value of the sign-in redirect URIs in the Sign-in redirect URIs section.
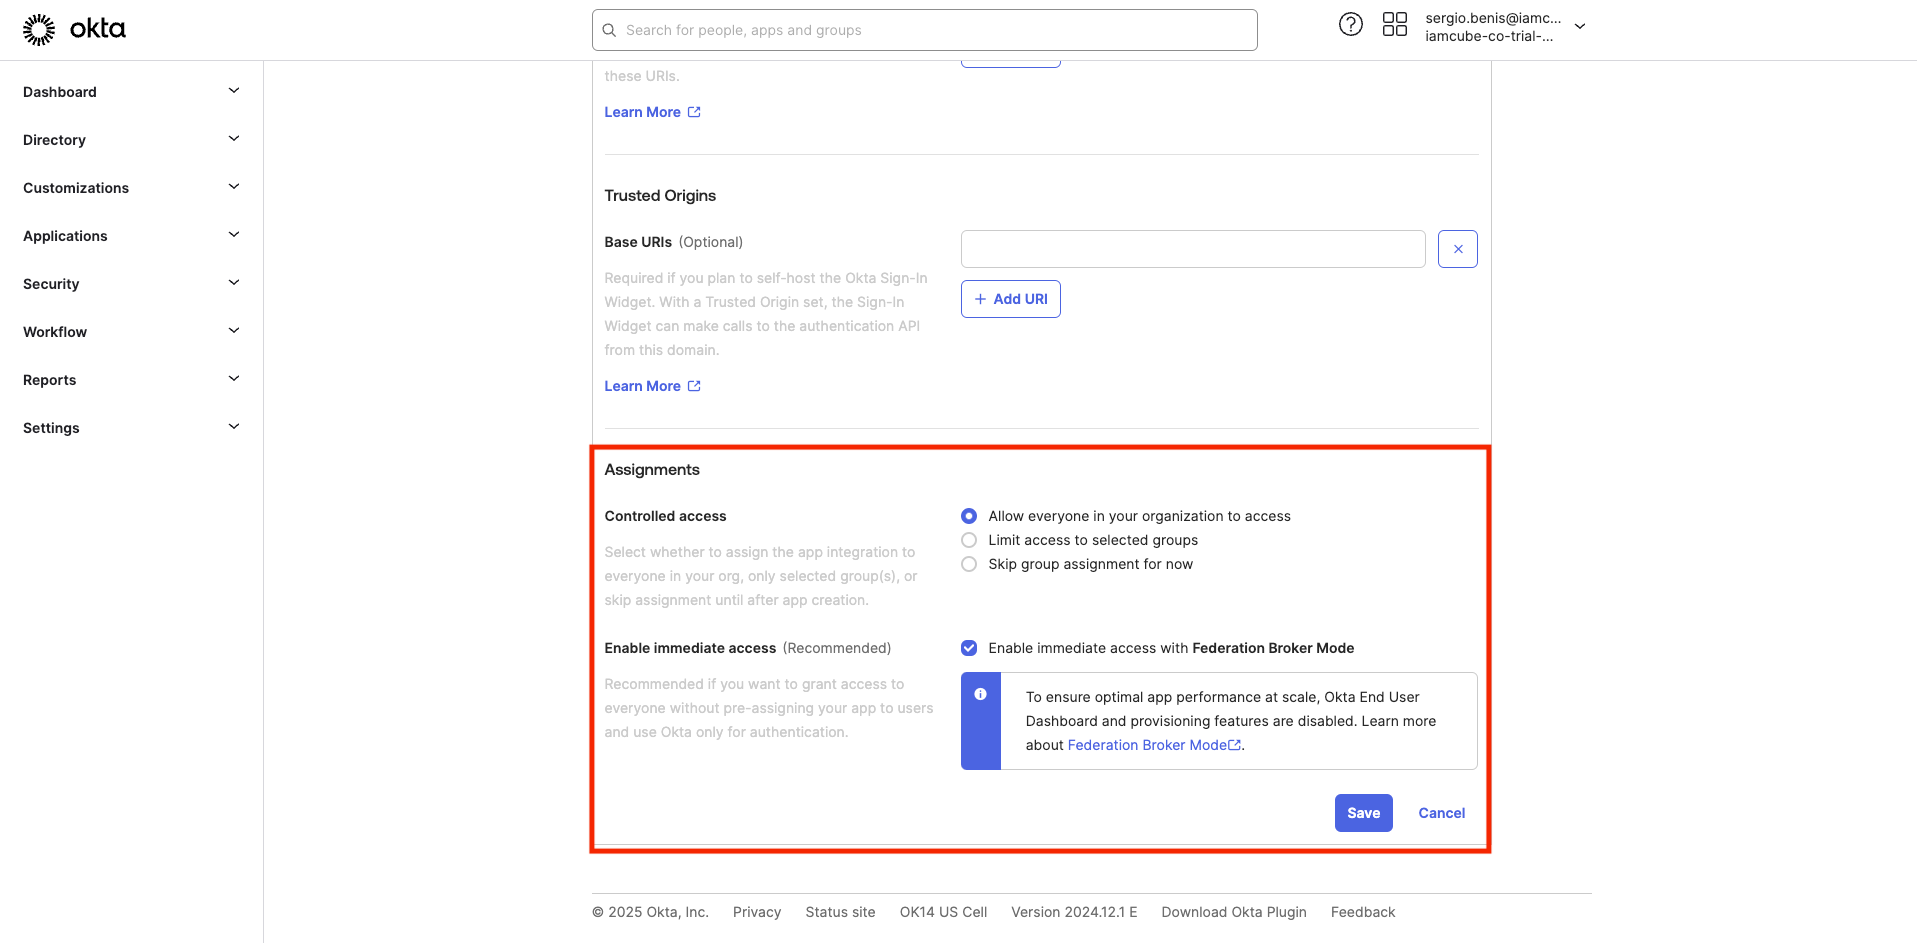
- Select how you want to control access to Thredd applications from your organisation. The example below shows that access is available to all users in your organisation, and where there is immediate access.
- Share details with Thredd.
- If you are using a Client ID/Client secret, share this detail with Thredd using your preferred secure method.
- If you prefer Thredd's recommended authetication method of
private_key_jwt, perform the steps below for sharing the private key.
Share the Private Key private_key_jwt
- Select the application that you have just created under General.
- Click Edit next to Client Credentials.
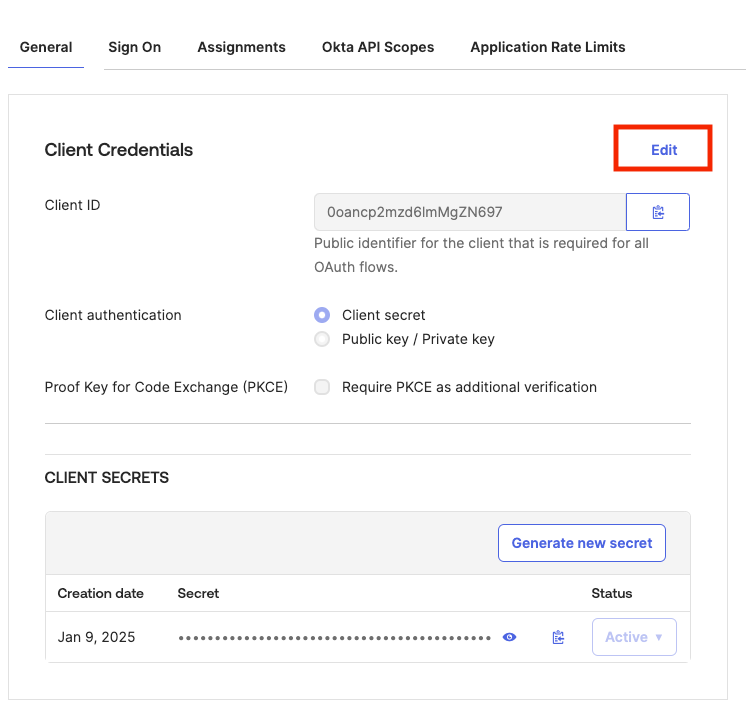
-
Select Public Key / Private Key, the page updates to show the public key configuration options:
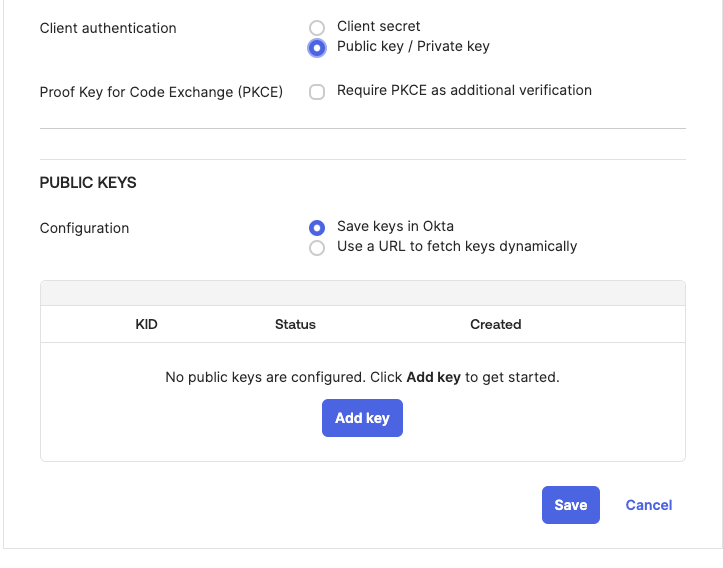
-
Click Add key. The Add a public key screen appears.
- Select Generate new key.
- When the private key is shown, select PEM.
- Copy the value to your clipboard and save it.
You will need to share the private key with Thredd. The following shows the on-screen instructions that appear for generating and copying a private key.
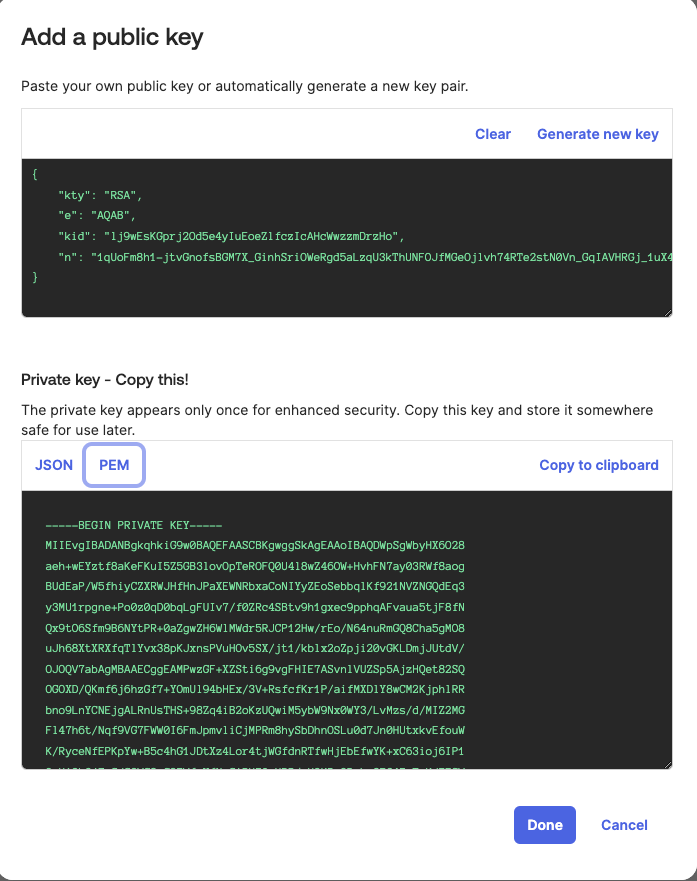
- Click Done.